

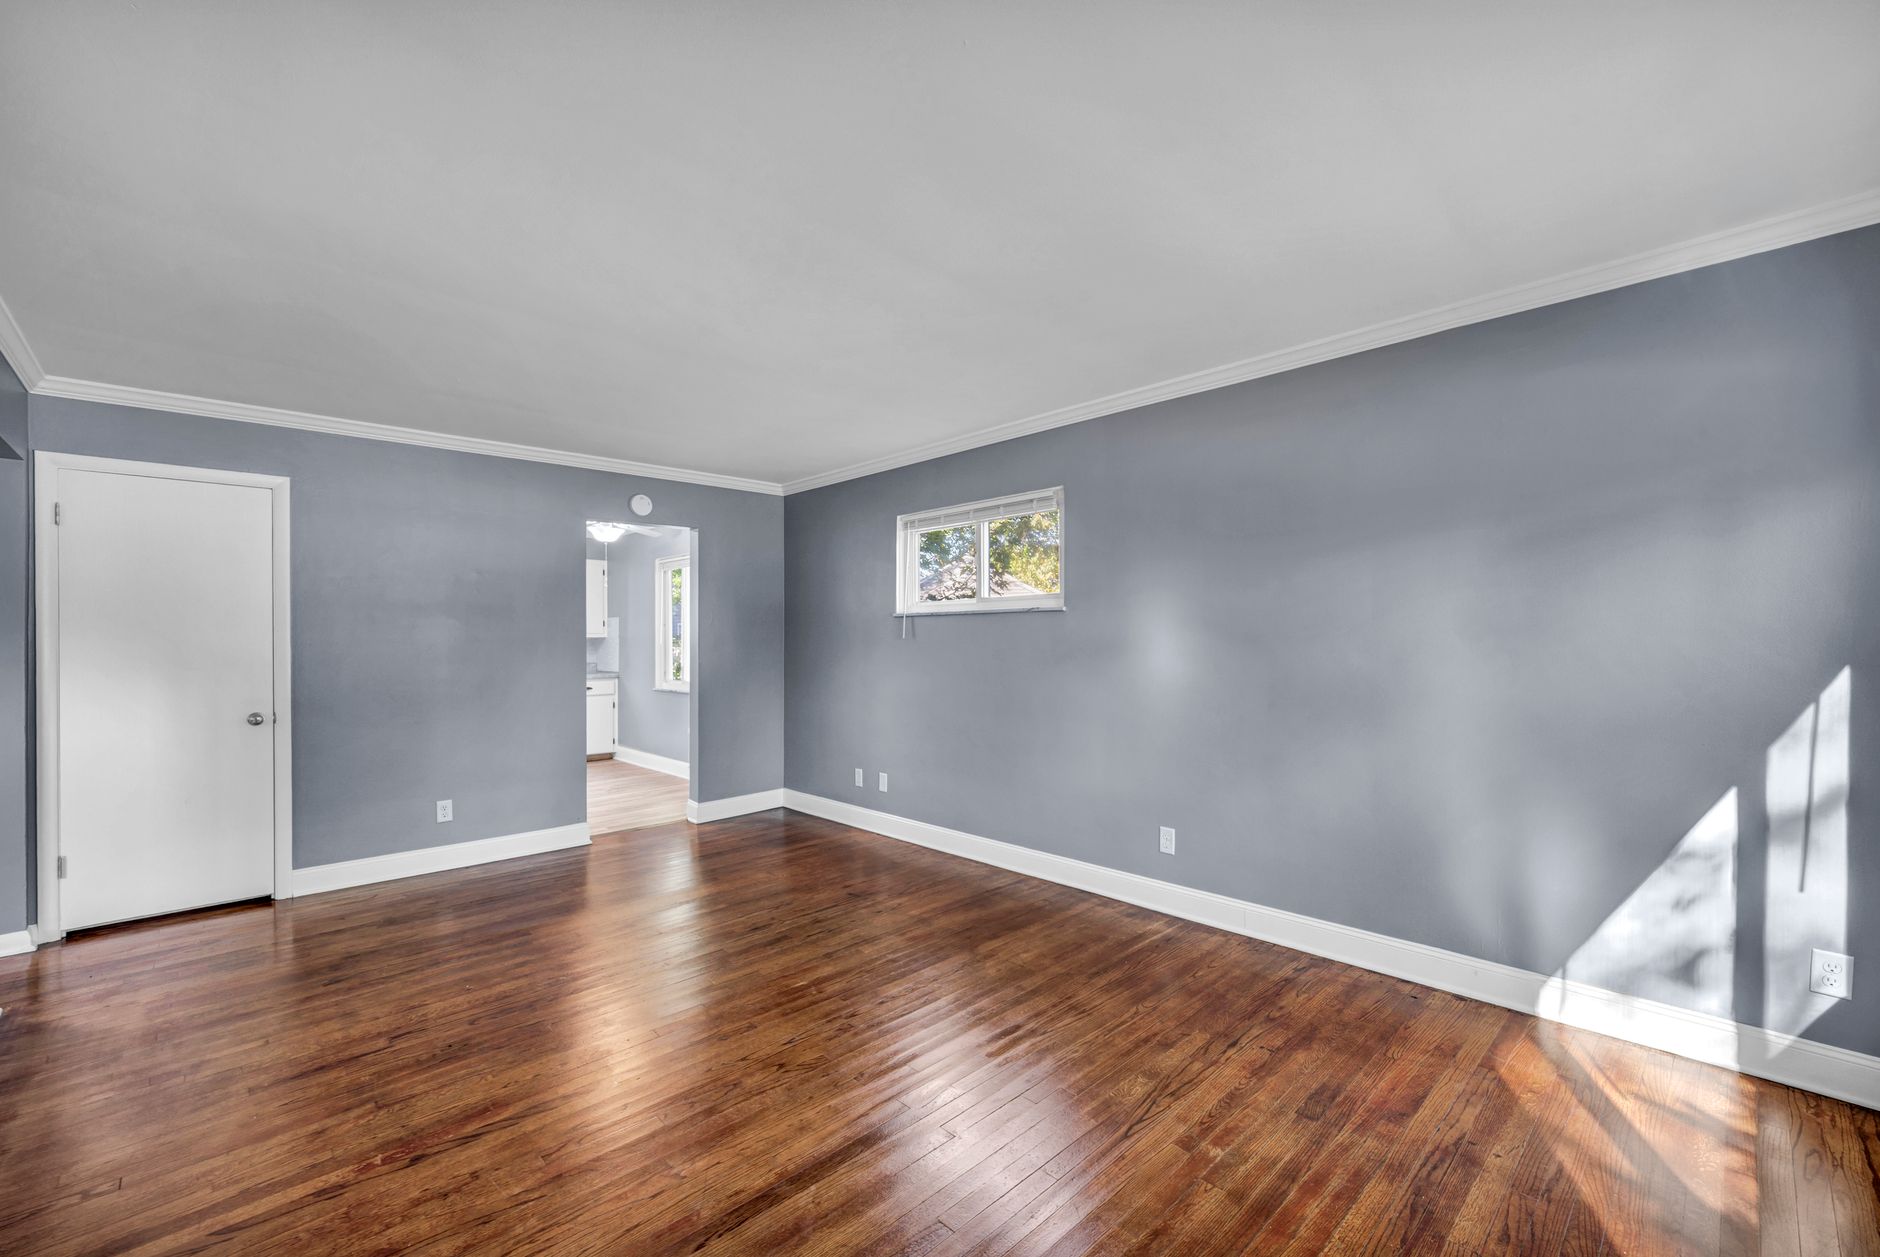
Pre-settlement inspection checklist: what to check before you move in
You get a short look at the place before it is yours. Here is what to check, room by room, and what to do if the house is not as you left it.

Short answer
A pre-settlement inspection is the buyer’s last look at the property before settlement, to confirm it is in the same condition as when contracts were exchanged. Check that inclusions are still there and working, the seller’s belongings and rubbish are gone, nothing is newly damaged, and the keys and remotes are ready. Raise problems through your conveyancer.
Key takeaways
- The inspection confirms the property is in the same condition as when contracts were exchanged. It is not a second building inspection.
- Test things rather than looking at them: switch on appliances, run taps, flush toilets, open and lock every door and window.
- Check that the inclusions in your contract are still there and that anything excluded has been taken.
- Photograph anything that looks wrong, then tell your conveyancer or solicitor rather than the seller.
- Look at the walls, floors and doorways the seller’s furniture and removalists passed through, because that is where moving damage shows.
- Book your own move for after settlement is confirmed, and leave room in case it runs late.
Jump to a section 8
What a pre-settlement inspection is for
The NSW Government’s guide for buyers tells you to inspect the property on the morning of settlement day, to make sure it is in the same condition as when contracts were exchanged. That is the whole purpose. Weeks or months may have passed since you last stood in the place, and a lot can happen in that time: a tenant leaves, a seller packs up, a storm comes through.
JB Solicitors notes that most NSW contracts let the buyer inspect within three business days before settlement, and suggests booking it around five working days out so there is time to sort out problems. Read your own contract for the exact entitlement, because it is the contract that counts.
We are removalists, so this guide covers the physical walk-through: what to look at and what to carry with you. It is not legal advice. Anything about your contract, your rights or what happens if the property does not match belongs with your solicitor or conveyancer.
Before you go
A little preparation makes a 30-minute visit count. LJ Hooker’s guide says these inspections usually take about 30 minutes, so go in with a list rather than wandering through.
- The contract of sale, or at least its list of inclusions and exclusions.
- Your photos or notes from earlier inspections, so you can compare like with like.
- A phone with a charge, for photos and for testing power points.
- A small lamp or plug-in charger, which is a quick way to check a power point works.
- Your agent, if possible. CommBank suggests going with the real estate agent and arranging a time with the vendors rather than turning up unannounced.
Settling and moving in the same week?
Tell us your settlement date, where you are moving from and anything awkward about access at the new place. We will plan the load and unload around it.
The pre-settlement inspection checklist
Work through the property in the same order each time, so nothing is skipped. This list draws on the checklists published by CommBank, LJ Hooker and JB Solicitors.
Inclusions and exclusions
Start with the contract list. Anything the contract says stays should still be there and working, and anything it says goes should be gone.
- Appliances, light fittings, ceiling fans and blinds or curtains listed as inclusions.
- Window dressings: included ones should still be hanging, and excluded ones should have been taken down.
- Included furniture, outdoor items and the rubbish bins.
- Items the seller said they would take, which should not be left behind.
Appliances and fixtures
LJ Hooker’s advice is to switch every fixed appliance on and off rather than just looking at it.
- Oven, cooktop, rangehood and dishwasher. Check gas if the property has it.
- Hot and cold taps in every room, and the taps for the washing machine.
- Flush each toilet, and look under basins and in vanity cupboards for leaks.
- Air conditioning and heating, each run for a minute.
- Smoke alarms, the doorbell, exhaust fans and the switchboard.
- Garage door, gates and any intercom.
Doors, windows and security
Open, close and lock every door and window. Check that handles are secure and that nothing sticks. Then collect the keys list: keys for each lock, garage remotes, gate openers, alarm codes and access cards should all be ready to hand over at settlement.
Cleanliness and what has been left behind
CommBank’s checklist looks for a property that is clean and tidy with rubbish removed, and notes the vendor may still be packing, so it may not be perfect on the day. Look in the places people forget: garage, shed, under the house, behind doors, the top of wardrobes and the garden. Rubbish and unwanted furniture left in these spots can turn into your first weekend job.
The moving damage most people miss
This is the part of the checklist we see from the moving side. When a seller’s furniture goes out, it travels through doorways, down hallways and stairs, and along lift or common-area routes. Scuffs, gouges and dents tend to appear exactly where furniture has been dragged or turned a corner.
Look low, and look at the edges. Check skirting boards, door frames, corners and the paint at furniture height. Check timber and tile floors for scratches along the hallway and at the front door. Pull the curtain across and open the cupboard doors, since hinges and panels also get knocked.
Check where large furniture stood. Marks on floors and walls behind where a wardrobe, bookcase or bed stood can show faded or damaged patches that were hidden when you first inspected. They are worth a photo, even if they turn out to be normal wear.
Apartments need the common areas too. If it is a unit, walk the lift, the stairs and the corridor to the door. Damage to common property is usually a matter for the owners corporation, so tell your conveyancer and agent what you see rather than guessing who is responsible.
Take photos before you speak to anyone
Photograph each issue wide and close, with something in frame for scale. Timestamped photos taken at the inspection are the evidence your solicitor or conveyancer will want.
If something is wrong
Do not argue it out on the doorstep. JB Solicitors says not to contact the vendor directly, and to tell your solicitor or conveyancer straight away instead. LJ Hooker gives the same advice: raise it with your conveyancer, who can work out what the contract allows.
What happens next depends on your contract and the problem. The sources above describe options such as having the vendor fix it before settlement, or adjusting the money at settlement, and note that normal wear and tear is generally treated differently from new damage or a missing inclusion. JB Solicitors also warns that refusing to settle over a minor issue could put a buyer in default, so get advice before deciding what to push on.
LJ Hooker adds that if work is agreed, there is usually a further visit to confirm it was done, and that visit is to check the agreed work, not to raise new concerns. So make your first inspection a thorough one.
Where the removalists fit in
Your truck should not arrive before settlement is confirmed. Keys are normally released after your conveyancer tells the agent the transaction has gone through, so book your move for after that, and ask your conveyancer for the booked settlement time a few days out. Our guide to what happens on settlement day covers the timing in detail.
The inspection also tells you what you are moving into. If you spot a narrow stairwell, a tight driveway, a lift booking requirement or a long carry from the street, mention it when you request a quote. Our residential moves are planned around the access at both ends, and we have been moving homes since 1989 from our base in Balmain, across the Inner West and Lower North Shore and wider NSW.
If your dates do not line up, we can arrange storage with a partner facility. Tell us about it early rather than on the morning.
Your first night
Once the keys are yours, walk through again before the truck unloads, with the checklist in your hand. It is much easier to photograph a problem in an empty room than behind a pile of boxes. Our guide to your first night in your new home covers what to have within reach.
Common questions
What should I check at a pre-settlement inspection?
Check the property is in the same condition as when contracts were exchanged. Confirm included items are present and working, excluded items and rubbish are gone, nothing is newly damaged, and all keys, remotes and codes are ready. Test appliances, taps, toilets, doors and windows.
When should I do the pre-settlement inspection in NSW?
The NSW Government suggests the morning of settlement day. JB Solicitors says most NSW contracts allow an inspection within three business days before settlement, and suggests around five working days out so there is time to fix problems. Check your contract.
How long does a pre-settlement inspection take?
LJ Hooker says they usually take about 30 minutes. A list and a clear order for walking through the property keep it to that.
Who should I tell if I find a problem?
Your solicitor or conveyancer, straight away. Both JB Solicitors and LJ Hooker advise against raising it directly with the vendor. Photograph the issue first.
Can I do a second inspection?
LJ Hooker says that where work is agreed, there is usually one further visit to confirm it was done, not to raise new concerns. Ask your conveyancer what your contract provides.
Should I book the removalists before the inspection?
You can book the day, but plan for the move to start after settlement is confirmed and keys are released, and allow for a late settlement. Tell your removalist what you found, especially on access.
The short version
The pre-settlement inspection confirms the property is as you agreed to buy it. Go with a list, test everything, look for moving damage, and raise problems through your conveyancer.
- Check inclusions, exclusions, rubbish and keys against the contract.
- Test appliances, taps, doors and windows.
- Look low and at edges for scuffs from the seller’s move.
- Photograph first, then tell your conveyancer.
- Move in only after settlement is confirmed.
Planning a move around settlement?
Tell us your settlement date, what you are moving and any access issues at either end. We will come back with a quote and a plan for the day.
Get a free quote Call 0416 236 209
Based in Balmain, moving homes across Sydney and within NSW since 1989.
Sources
- Contracts and deposits when buying property in NSW, NSW Government
- Final inspection before settlement in NSW, JB Solicitors
- Pre-settlement inspection checklist, CommBank
- What to expect at a pre-settlement inspection, LJ Hooker